
So it’s snowing outside, and your child is slumping over their science workbook inside, making faces. Or maybe its the weekend and your family needs to get outside for some fun and mental stimulation.
We hear you!
One of the greatest challenges for parents is figuring out how to keep their kids engaged. While the answer may be simple (make learning fun, make play educational) the application of that idea… not so simple.
In this article you’ll find a few activities to inspire you into getting your kids out in the snow and learning all at the same time!

Picture by Ethan Hu
Winter Fun
Snowball fights, angel making, snow forts, snow people, launching down hills on their bellies, and playing king-of-the-hill, there’s no end to the wonder in wonderland.
Fresh snow acts as a natural laboratory where you can make many comparisons. It’s also fun because its seasonal and anticipated.
1. Animal Detective
Snow provides a natural canvas for animal footprints so you can see what animals are moving about in winter.
Begin with a question. Ask your child if they can think of a way to figure out how many creatures live hidden in your area, ordinarily leaving no trace as they go about their furry, feathery lives. Make a list of what animals you think may be in your community in the winter.
Pretend you are Sherlock or Enola Holmes. What might they look for? Bring out a notepad and pencil—even a magnifying glass for the dramatic flare of younger ones—have your child hunt for clues in the snow and draw any tracks or prints they find.
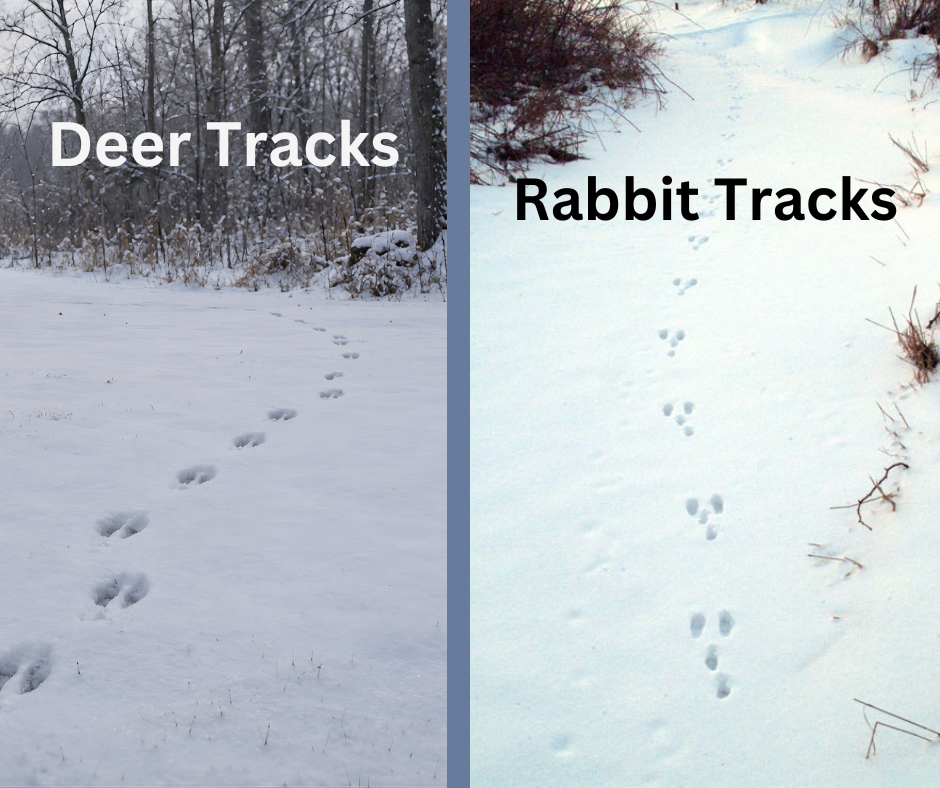
Sometimes you can see wildlife tracks walking right by your house. It’s fun to think about the animals outside your house when you’re not looking!
Check out my wildlife tracking book for young children.
Look closer. There are also the not-so-obvious ones. Birds that may only have landed for a few hops, or mice, who hide all their craftsmanship beyond a tiny entrance. (Their tunneling networks look awesome when exposed in the half-melted snow.)
For older children I like this series of guides by James Kavanagh because they are laminated, fold up easy, and can be tucked into a pack.
Be sure to follow up with more questions.
• Were they surprised by what they discovered?
• Which of those animals and birds have they seen in person?
• Who had the smallest feet and who had the largest?
• What do they think the differences would be between a woodland area and an urban area?
• How would they design a way of comparing woodland tracks to urban tracks?
• Do they have any ideas on how many animals can bare the freezing cold underfoot without wearing socks and boots, when a human cannot?
2. Ice Sun Catchers
More of a fun art project, these frozen sun catchers will look amazing on the outside of your windowsills or perched in the branches of bushes.
Simply have your child forage for natural decorations—berries, sprigs of pine, interesting leaves, seeds (or from inside the house, orange slices and flower petals if Mom’s giving the thumbs up!)
Then, outside, arrange the treasures in a container. Metal pie pans, plastic/glass food containers work well.
Next pour water over the treasures. The water will freeze, trapping the arrangements inside.
You can carefully remove the frozen creation from the dish and drill a hole in it. Use a string to make a loop so you can hang it in the sun. These have a stunning effect when held up to the sky.
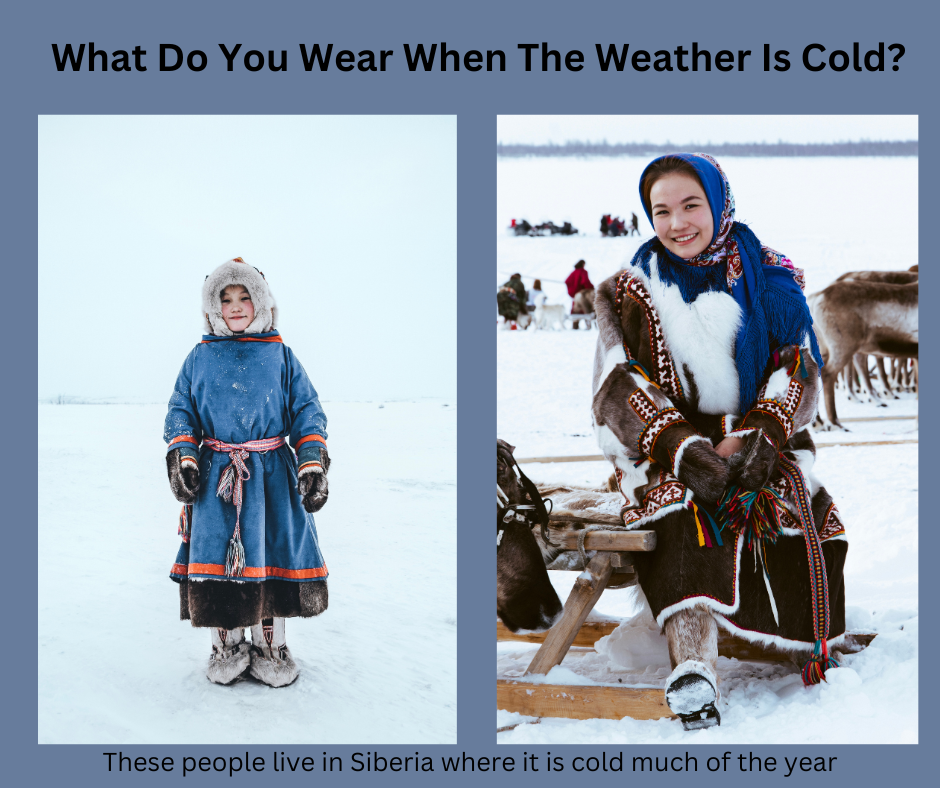
Combine science and social studies. Look at what people are wearing in cold places around the world. Think about where their clothes come from. One book for young children that I love for clothing around the world is called What We Wear
3. Snow Castle
Part imagination game, part social studies, have the kids assume that they were stuck out in the middle of the wilderness with no sign of a man-made shelter for miles in all directions.
Ask the children:
• How would they survive their first nights before they figured out a way back home?
• How would they shelter from the bitter winds that could come at any moment?
• Can they think of anyone in the world who has built shelters from the snow?
• True or false: Snow has the ability to insulate. (True!)
• What do they think mice and other warm-blooded mammals do in the deep winter? You can check out my article Nighty Night, Sleep Tight! Hibernation, Brumation and Torpor Explained
Did you know bears don’t truly hibernate? And venomous snakes sometimes brumate together?
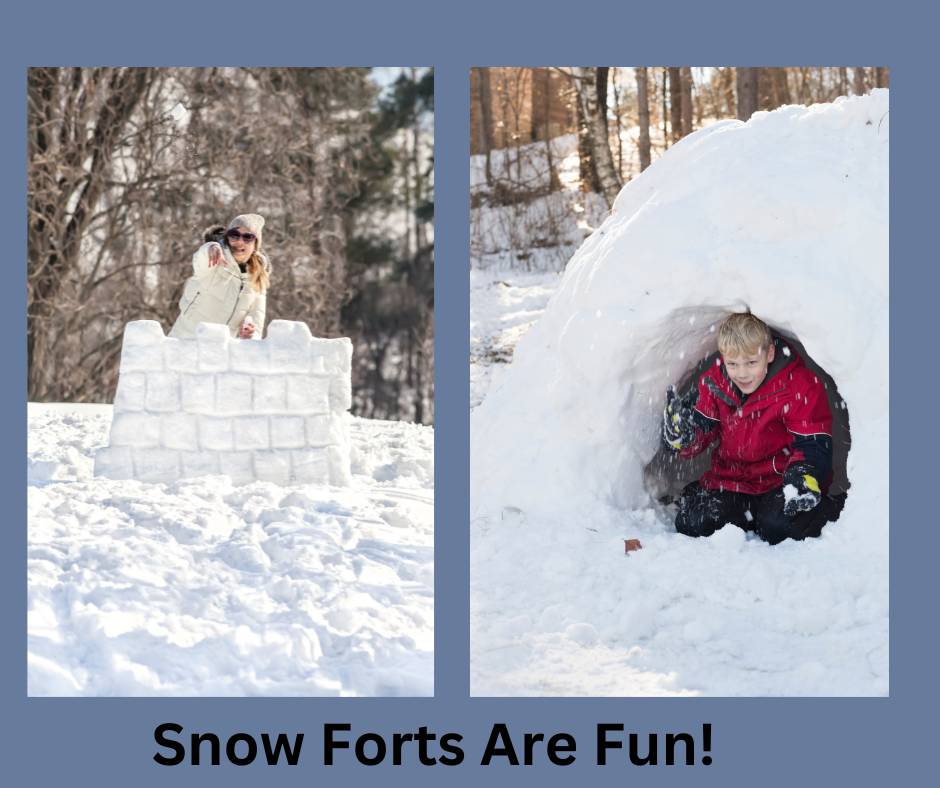
Build a Snow Fort
Do you get lots of snow where you live? Have the kids build a snow fort. Use these Snow Fort Block Molds
Have them figure out how they’d sleep in it, cook in it, and get in and out without collapsing the walls.
Bring out a packed lunch and hang out with them, validating their work.
Fun Facts About Igloos
Name Origin: The word igloo comes from the Inuit term iglu, which simply means any type of house or shelter, not necessarily a snow house.
No Cement, No Nails: Builders cut firm snow blocks with a saw and arrange them in a rising spiral dome which relies on geometric knowledge.
The Geometry Term is Parabolic: Igloos are not round spheres; they are built in a parabolic or catenary curve shape, which distributes weight evenly.
Temporary shelters: They were usually used for only one or two nights during hunting trips. Because they were for short stays, they are quick and easy to build.
Get outside and use your 5 senses to explore a forest or wooded area with your child or students. This video is full of ideas and activities to enhance your visit into the woods with children around ages 4 - 8.
4. Snowballs on Scales
This one I love. So simple, so revealing.
Go outside with your kid and make a small collection of different sized snow balls, say four or five. Ball them up nice and round but try not to compact them too much just yet. Bring them inside and line them up in order of size.
Get out your baking scales and measuring tape, and have your child record the sizes and weights on a prepared chart. Next comes the tricky bit.
Without losing too much snow off each ball (gloves could stay on for best results) have your child compact the largest ball as much as they can. Measure its width again, then weigh a second time.
What does your child notice? What are their thoughts on this? Give them the opportunity to teach you about compression, before offering suggestions of your own or filling in their gaps.
What weighs more? A cup of snow or a cup of water.
You can also place snow on a kids balance and see which snowballs weigh more or less.
5. sledding: How Fast Do You go?
Everybody loves to go sledding! As you slide down the hills you can learn about the physics of sledding. Have an adult or friend time you with a stopwatch or the timer on a cell phone.
Find two hills that have different slopes. Do you go faster down a steeper or more gentle slope?
If you have a long sled or toboggan take turns going down the hill as an individual or with other people. Do you go faster with more or less weight?
Sleds come in a variety of shapes and sizes. Which shape of sled goes the fastest?
Sleds also are made of different materials. Some are plastic, some are wood and some have metal runners. Which material for the sled goes the fastest?
6. how does salt affect the snow?
In my city we have to shovel and put salt down on the sidewalk in front of our home. Since we have a dog and many of our neighbors do we buy pet friendly salt melter for our sidewalks. This product does not actually contain salt but you can certainly use it as a comparison when doing this experiment.
Sprinkle a little rock salt or table salt on a snowy step, wait a few minutes, and observe what happens. The salt lowers the freezing point of water, which causes the snow to melt and evaporate away.
What Happens and Why?
The salted snow begins to melt much faster than the plain snow.
Pure water normally freezes at 32°F (0°C). When you add salt, it dissolves in the tiny layer of liquid water sitting on the surface of the snow. This salty mixture has a lower freezing point, meaning the temperature has to be much colder for it to stay frozen, which turns the solid snow back into liquid water.
Salt melts snow and ice because it lowers the freezing point of water through a process called freezing point depression.
7. Grow Crystal Snowflakes
This is an inside activity but a great way to see how snowflakes form.
Materials:
Pipe cleaners
String
Pencil
Borax (or salt/sugar)
Hot water
Mason Jar
Steps:
Twist pipe cleaners into a snowflake shape and tie a string to one end and tie it to the pencil. Place the pencil over the jar so the snowflake hangs freely in the jar.
Stir 3 tablespoons of borax into hot water until it is completely dissolved.
Pour the mixture into the jar until the snowflake is submerged.
Leave overnight and check back to see crystals formed along the pipe cleaner. Let it sit quietly for several days so the crystals can grow.
Why It Works:
As the water cools and evaporates, the solution becomes less able to hold the dissolved borax. The excess solidifies and attaches to the pipe cleaner, forming crystals. It’s a hands-on way to study evaporation, saturation, and the properties of solutions.
Level It Up:
Older students can test different solutes (salt, sugar, or borax) to compare crystal size and growth rate. Have them measure water temperature and time to see how these variables affect the results, then graph their data to analyze trends.
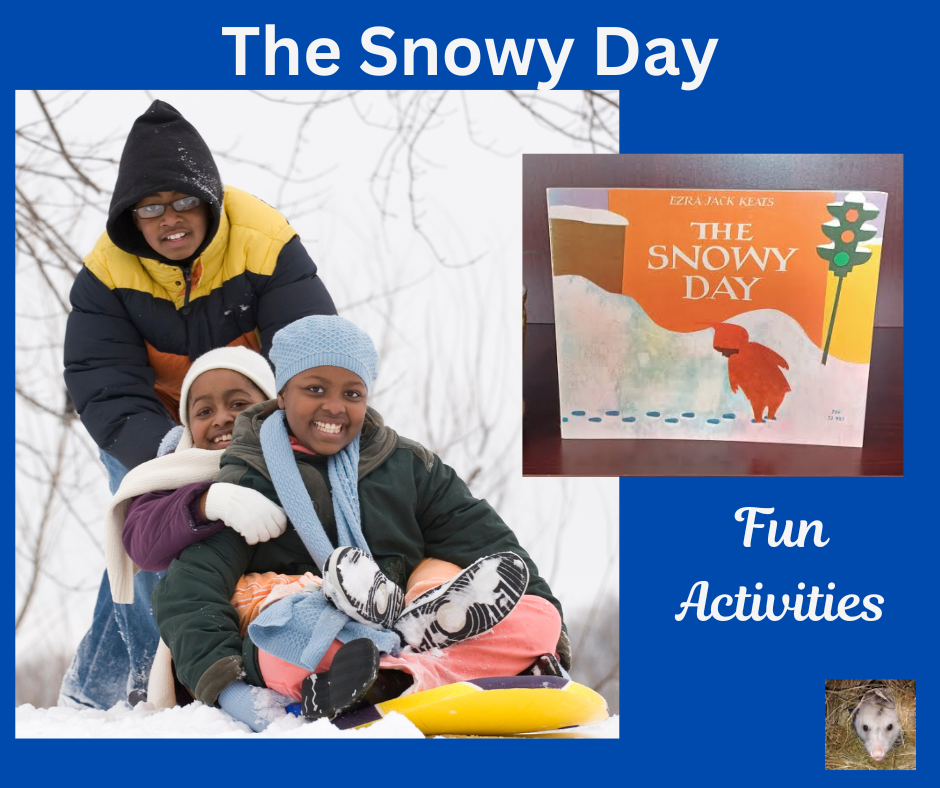
8. Snowy Day Activities
Have you read the classic story The Snowy Day by Ezra Jack Keats?
It is a great story for getting ready for snow exploration with preschoolers. One thing that happens in the story is that Peter puts some snow in his pocket, comes inside and it disappears.
Gather some snow from outside and put it in a cup. Place the cup on the kitchen counter or other workspace. Note the time when you bring the snow in. Check the cup every five minutes and write down or draw a picture to show what happens to the snow.
Show your child a thermometer and explain what happens at 32F or 0C.
9. Upside Down snowman
We typically make a snowperson with three different sized snowballs going from biggest on the bottom to smallest on top.
Try making an inverted snowman (about one foot tall) and see what happens. Try it on a larger scale.
10. Examine Snow Crystals (when its snowing)
Is it snowing at your house. Quick! Grab a piece of black construction paper and put it outside for a bit to get cold (so the snow doesnt melt when you catch snowflakes). While you’re at it, get a magnifying glass and put it outside with your paper.
Go outside and hold the black paper up toward the sky to catch some snow. You should get a mix of snowflakes (the larger clumps) and individual snow crystals which have broken off from their groups.
Have your kids examine the snow crystals with the magnifying glass.
Here are some questions to ask:
Do you see different shapes?
Are any of them broken?
Do all of them have 5 sides or do some have more?
Are they the same or different?
Take Away
With every changing season and every new weather pattern, we get some pretty cool opportunities to use to our advantage as educators. Nature is literally our classroom.
Snow is packed full of lessons to come away with, and each one can be tailored to suit younger ones and older ones.
Author, Ame Vanorio, is the founder of Fox Run EEC and a licensed science teacher. She is also an author and Youtuber!
Pinecones come from pine trees but all conifer trees make cones. Cedar and spruce trees also make cool cones.
There are 49 species of native pine trees in North America.
Pinecones may have different shapes and sizes depending on tree species
Pinecones protect pine tree seeds from extreme weather.
It may take more than 10 years for a pinecone to naturally fall out of a tree.
The best time to look for pinecones is autumn.